How to Track Time on Next-Gen Projects in Jira

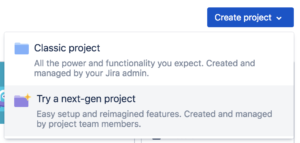
Timesheet Export makes it easy to log time onto Jira’s next-gen projects, which don’t ordinarily provide a mechanism for time tracking.
Follow these simple steps to log time on any issue, including issues from next-gen projects.
1. Ensure you have Timesheet Export installed for your Jira instance. (Try it free!)
2. Open the issue you would like to log time on.
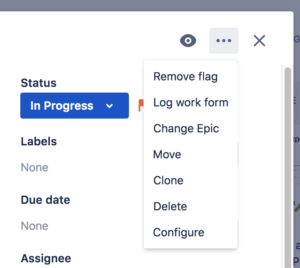
3. Click the ellipsis [•••] menu at the top-right of the issue.

4. Select the Log work form option.
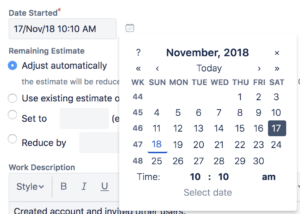
5. Fill in the Time Spent field. It takes input in Jira’s usual format. (For example, 3d 4h 30m to represent 3 days, 4 hours, and 30 minutes)

6. Fill in the Date Started field.

7. Fill in the Work Description field with a short description of the work done.

8. Click the Log button.

It’s as easy as that! Timesheet Export can then be used to export time from any project into a spreadsheet, including next-gen projects. (see how to export tracked time from Jira)
Some other time tracking apps for Jira may also be able to track time on next-gen projects, but they may do this by logging tracked time in their own database rather than in your Jira instance. Timesheet Export only logs time into your Jira instance. This means that if you decide to switch to a different time tracking app that also uses Jira’s time tracking, your data will still be there. Be careful of time tracking apps that hold your data to achieve vendor lock-in.
Note: Due to a quirk in Jira’s next-gen projects, tracked time exports unfortunately don’t include Epic information. We are hopeful that this can be addressed in the future.